A navigation menu is a critical aspect of any website. It allows visitors to easily find and access the different pages and sections of your site. In this blog, we will show you how to add a navigation menu in WordPress.
-
-
Create a Menu
Go to Appearance > Menus in your WordPress dashboard. Click on “Create a new menu” and give it a name. This name will be used to identify your menu in the WordPress dashboard.

-
Add Pages, Posts, and Custom Links to the Menu
Under the “Pages” or “Posts” section, select the pages or posts you want to add to your menu. You can also add custom links to your menu by entering the URL and link text.

-
Organize Your Menu
To organize your menu, click and drag the menu items to rearrange them. You can also create sub-menu items by dragging a menu item to the right.\

-
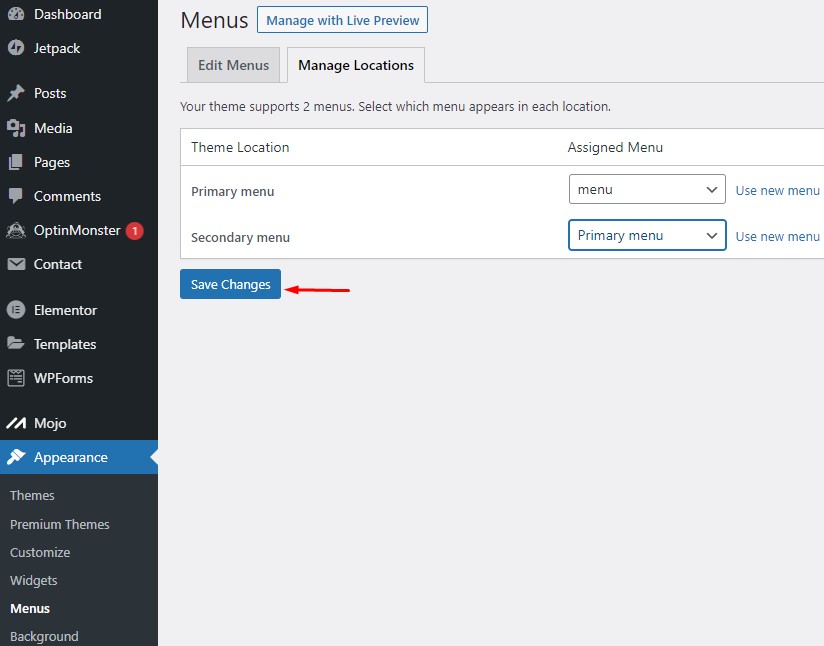
Choose a Menu Location
After you have added and organized your menu items, go to the “Menu Settings” section and choose a menu location. The menu location determines where the menu will be displayed on your site.

-
Save and Publish Your Menu
Click on “Save Menu” to save your changes. If you have chosen a menu location, your navigation menu should now be visible on your website.

-
In conclusion, adding a navigation menu in WordPress is a simple process. By following these steps, you can easily create a professional-looking navigation menu for your website. If you need further assistance, there are many resources available online to help you with the process.


